Drywall Installation Facilitated: Tips for Perfect Outcomes
Drywall installment is usually viewed as a difficult job, yet with the right technique and knowledge, it can end up being a workable undertaking. Selecting quality materials and preparing the installment area are essential initial steps that set the structure for success. Mastering strategies for reducing, hanging, and ending up drywall can substantially impact the outcome. As we explore these vital ideas, you may locate that even the smallest adjustments in your method can lead to incredibly improved outcomes, leaving you to take into consideration how these methods can change your following task.
Choosing the Right Products
Choosing the suitable materials for drywall installation is vital to achieving a long lasting and aesthetically pleasing surface. drywall contractor. The primary component, drywall sheets, normally can be found in different thicknesses, with 1/2-inch sheets being standard for indoor walls. For locations calling for added dampness resistance, such as kitchens or bathrooms, think about using green board or cement board, which are specifically developed to stand up to humidity
Preparing the Installment Area
Before beginning the drywall installation procedure, it is important to prepare the setup location thoroughly. This prep work entails several vital steps to make sure a smooth and effective job. Initially, clear the area of any type of furniture, appliances, or obstructions that might hinder access. A tidy work area reduces the danger of damage to existing items and enables efficient movement throughout installation.
Next, inspect the wall surfaces and ceiling for any type of blemishes, such as fractures, openings, or mold and mildew. Address these problems beforehand; spot any kind of problems and allow sufficient time for fixings to completely dry. In addition, ensure that electrical outlets, buttons, and plumbing are appropriately placed and represented, as this will affect drywall positioning.
Think about the ecological problems. A stable temperature level and humidity level are vital for ideal bond and efficiency of the drywall products. If necessary, utilize a dehumidifier or heating system to create ideal problems.
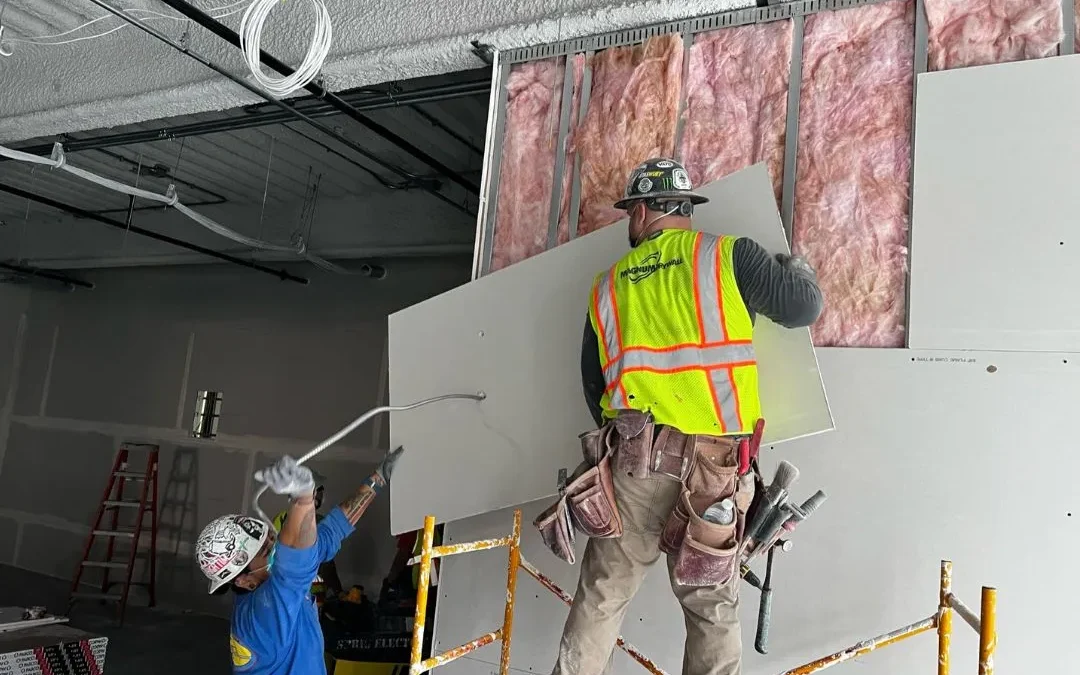
Trimming and Hanging Drywall
The secret to effective drywall installment lies in the specific cutting and hanging of the panels. Begin by gauging the area properly, thinking about any kind of obstructions such as electric outlets or home windows. Utilize a straight side and an utility blade to rack up the drywall along your measurements, then break it along the scored line for a tidy break. For even more elaborate cuts, such as around electrical outlets, a drywall saw can be used for precision.
Constantly work from the top down and left to right, ensuring that you maintain a staggered pattern to boost security. Properly hanging the drywall establishes the structure for a smooth surface, ultimately causing superior outcomes in your drywall job.
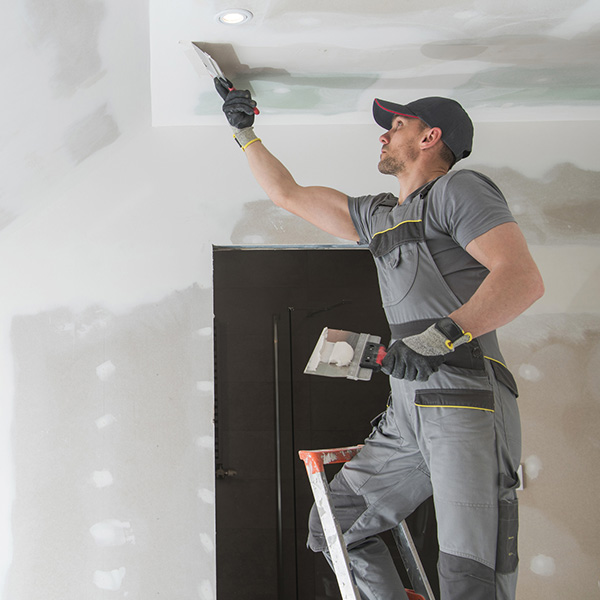
Insulation and Mudding Strategies
While proper cutting and hanging of drywall establishes the stage, the following crucial action entails understanding taping and mudding techniques to make sure a seamless coating. Insulation is necessary for enhancing joints and stopping cracks; it entails embedding tape right into the used joint compound (mud) Beginning with a quality fiberglass or paper tape, applying the tape over the joint and pressing it into the wet mud making use of a taping blade, ensuring no air bubbles stay.
Once the tape is in place, use a slim layer of joint compound over the tape, feathering the edges to develop a smooth look at here now change to the drywall surface. Allow this layer to completely dry completely before sanding it lightly to eliminate blemishes. Repeat this procedure, using added coats of mud as essential-- commonly two to 3 coats-- while slowly broadening the application location with each layer to accomplish a smooth appearance.
After the last layer dries out, sand the surface with a fine-grit sandpaper till smooth. drywall contractor. Keep in mind to put on a mask during fining sand to prevent inhaling dirt particles. Mastering these taping and mudding techniques is vital for achieving a professional-quality finish in your drywall setup
Completing Touches for Perfection
Accomplishing a perfect drywall installation exceeds taping and mudding; it finishes in the ending up touches that boost the overall appearance. These last steps are essential in ensuring a professional-grade finish that read review boosts the aesthetic appeals of your room.
Begin by sanding the dried joint substance to create a smooth surface area. Make use of a fine-grit sandpaper and a sanding block or post sander for optimal control. Pay particular interest to corners and sides, as these locations tend to call for even more precise job. After sanding, clean down the walls with a damp cloth to get rid of any type of dust particles, guaranteeing a tidy surface area for painting.
Following, apply a guide especially created for drywall. This step is necessary, as it helps secure the joint compound and offers a consistent base for the topcoat. As soon as the guide dries, inspect for any kind of blemishes, and touch up as needed.
Final Thought
To conclude, successful that site drywall setup pivots on the cautious selection of products, thorough prep work of the setup area, and specific execution of cutting and hanging methods. Proficiency of taping and mudding processes is vital for achieving a smooth surface. Furthermore, attention to completing touches, consisting of priming and touch-ups, makes sure a professional-grade outcome. By adhering to these standards, the high quality of handiwork can be significantly boosted, adding to the overall visual and performance of the area.
Drywall setup is frequently regarded as an overwhelming task, yet with the ideal strategy and expertise, it can become a workable venture.Choosing the proper products for drywall setup is essential to achieving a sturdy and aesthetically pleasing coating.Before starting the drywall setup procedure, it is necessary to prepare the installment location completely. Understanding these taping and mudding methods is essential for attaining a professional-quality finish in your drywall setup.
In verdict, effective drywall setup pivots on the mindful selection of materials, comprehensive preparation of the installment location, and exact execution of reducing and hanging methods.
Comments on “Expert Drywall Contractor Services for Your Home Improvement”